.
Today is another milestone! I finally got my nerve up to open an Etsy Store! I have wanted to try opening one for quite a while, but the thought of it was a little overwhelming! Getting to know my friend Kathy over at Elk Studio Handcrafted Crochet Design was really inspiring… I have watched her recently publish a beautiful Southern and Sassy Hat Pattern (You really need to check it out!) and checked out her Etsy sight… So, I dug in and opened mine… Click here to see BeatriceRyanDesigns new Etsy Shop!!!!!
.
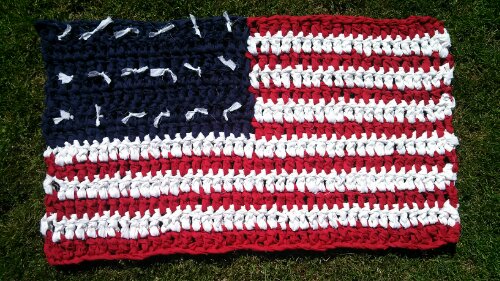
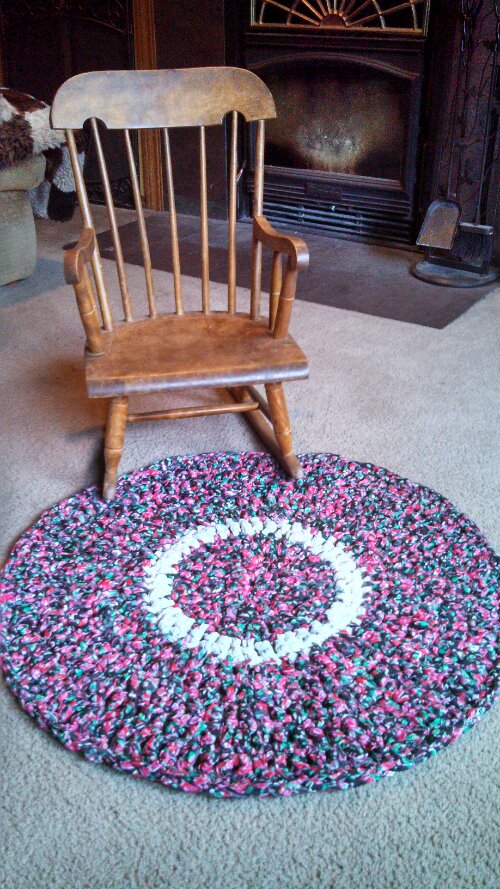
Here is a sample of what is up for sale at Etsy!
.


.
Thanks for all your support,,,
.
Here is to Etsy, Love of Crochet and Trying New Adventures!
.
Elena